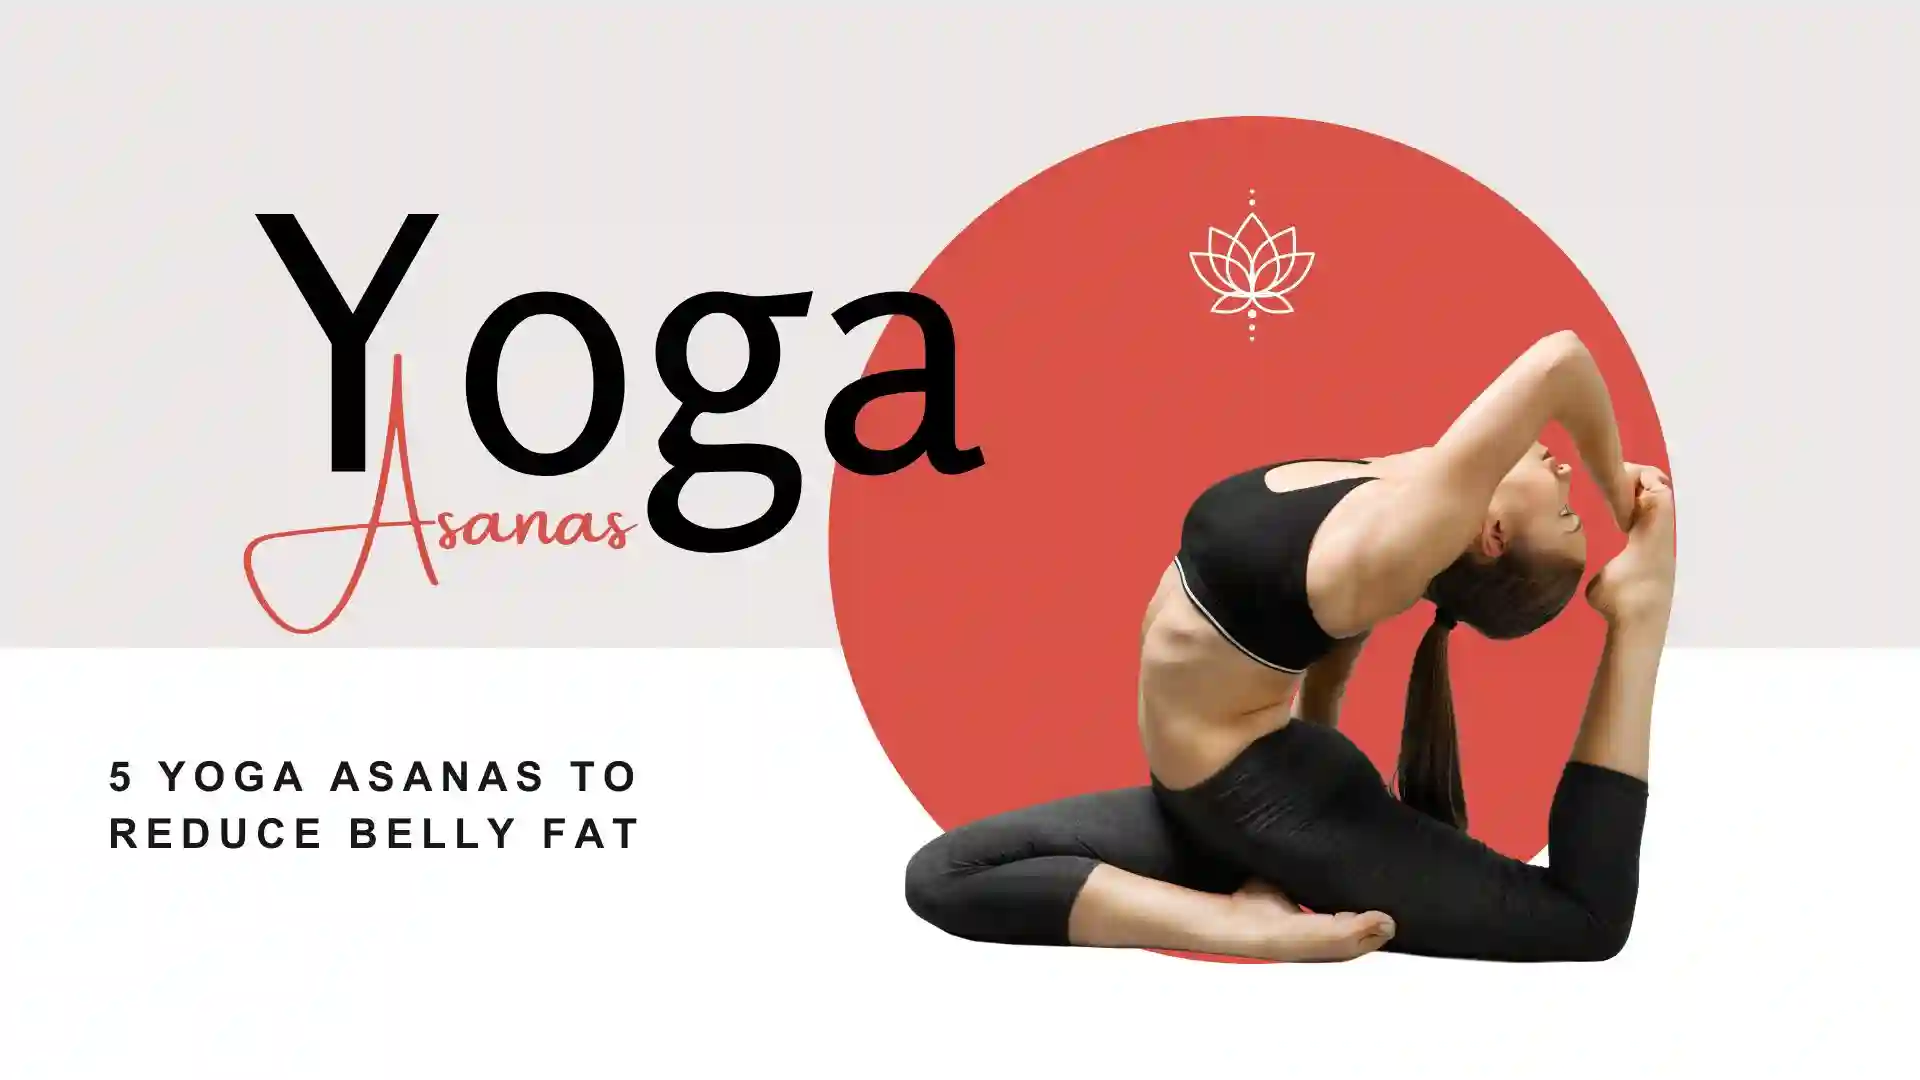
5 Yoga Asanas To Reduce Belly Fat
Are you looking for an effective and natural way to get rid of belly fat? Yoga can be a great option for you. In this article, we will discuss 5 yoga asanas that can help you reduce belly fat. These asanas not only target your core muscles but also improve digestion, metabolism, and overall well-being.
Table Of Contents
- 1 How Does Yoga Help in Reducing Belly Fat?
- 2 Asana 1: Tadasana
- 3 Asana 2: Surya Namaskar
- 4 Asana 3: Padahastasana
- 5 Asana 4: Paschimottanasana
- 6 Asana 5: Pavanmukhtasana
- 7 Conclusion
- 8 FAQs
- 8.1 1. Can yoga alone reduce belly fat?
- 8.2 2. How long should I practice yoga to see results in reducing belly fat?
- 8.3 3. Are there any precautions I should take while practicing these asanas?
- 8.4 4. Can yoga help in reducing belly fat post-pregnancy?
- 8.5 5. What is the best time to practice these asanas?
- 8.6 Like this:
- 8.7 Related Post
How Does Yoga Help in Reducing Belly Fat?
Yoga is a holistic practice that involves physical postures, breathing techniques, and meditation. When it comes to reducing belly fat, yoga postures or asanas play a crucial role. These asanas help in toning the abdominal muscles, improving digestion, reducing stress levels, and boosting metabolism. Regular yoga practice can also regulate hormone levels, which can aid in weight loss.
Without further ado, let’s look at 5 yoga asanas to reduce belly fat.
Asana 1: Tadasana
The word ‘tadasana’ comes from ‘tada’, meaning mountain, and ‘asana’, meaning posture. This is the Mountain pose, an asana that forms the foundation or the source of all other asanas. From Tadasana, you can transition to other standing poses by changing a specific part of your body or a single joint, while keeping the rest of your body neutral.
You don’t have to do this asana with an empty stomach. But if you are doing other Yoga Aasans before or after it, it is advisable to eat your meals at least 4 to 6 hours before you do this Aasan and also ensure that your bowls are clear.

Procedure
- Stand erect and your legs slightly apart with your hand hanging alongside your body.
- You must make your thigh muscles firm. Lift your kneecap by ensuring you do not harden the lower part of your belly.
- Strengthen the inner arches of your inner ankles as you lift them.
- Now imagine a stream of white light (energy) passing through your ankles up to your inner thigh groin spine necks all the way up to your head.
- Gently turn your upper thigh inward.
- Elongate the tailbone such that it is towards the floor lift the pubis such that it is closer
- Look slightly upward.
- Now breath in and stretch your shoulders arms and chest upward. Raise your heels making sure your body weight is on your toes.
- Feel the stretch in your body right from the feet to your head.
- Hold the pose for a few seconds then inhales and release.
Benefits
- Improves Posture
- Strengthens thighs, knees, and ankles.
- Increases awareness.
- Steadies breathing.
- Increase strength, power, and mobility in the feet leg, and hips.
- Firm up abdomen and buttocks.
- Reduces flat Feet.
Contraindications
- This asana should be avoided by People suffering from headaches.
- It should be avoided by Patients with Insomnia.
- People suffering from low blood pressure should not attempt it.
Asana 2: Surya Namaskar
Surya Namaskar, also known as Sun Salutation, is a sequence of 12 yoga asanas that can help you lose weight and reduce belly fat. This sequence involves stretching, forward bending, and backward bending, which helps in toning the muscles and improving flexibility.
Procedure
Here is a step-by-step guide to performing Surya Namaskar:
- Start by standing at the top of your mat with your feet together and your hands in the prayer position (Anjali Mudra) in front of your heart.
- Inhale deeply and raise your arms above your head, stretching your whole body upwards.
- Exhale and bend forward from the hips, bringing your hands down to touch the floor or your shins. Keep your spine straight and your knees slightly bent if necessary.
- Inhale and step your right foot back into a lunge, with your left knee bent at a 90-degree angle and your hands on the floor on either side of your left foot. Look up and forward.
- Exhale and step your left foot back to come into a plank position, with your arms straight and your hands directly under your shoulders.
- Hold the plank for a moment, then exhale and lower your body down to the floor, keeping your elbows close to your sides.
- Inhale and push your upper body off the floor, arching your back and lifting your head and shoulders up into Cobra pose.
- Exhale and lift your hips up and back into the Downward-Facing Dog pose, with your hands and feet on the floor and your hips lifted towards the ceiling.
- Inhale and step your right foot forward between your hands, coming back into the lunge position.
- Exhale and step your left foot forward to meet your right foot, folding forward over your legs.
- Inhale and rise up to stand, stretching your arms above your head and looking up.
- Exhale and bring your hands back to your heart in Anjali Mudra.
- Repeat the sequence, starting with the left foot in step 4, to complete one full round of Surya Namaskar. You can repeat the sequence as many times as you like, depending on your level of fitness and energy. Remember to breathe deeply and focus on each movement as you perform it.
Benefits
- Increases Flexibility: Surya Namaskar involves various stretches, which helps to increase flexibility in the muscles, joints, and spine.
- Boosts Strength: Surya Namaskar involves various postures that help to strengthen the muscles in the arms, shoulders, legs, and core.
- Improves Digestion: The forward bends in Surya Namaskar help to stimulate the digestive system, improve metabolism, and aid in better digestion.
- Calms the Mind: The breathing and meditative aspect of Surya Namaskar helps to calm the mind, reduce stress, and promote mental clarity.
- Helps in Weight Loss: Surya Namaskar is a great way to burn calories and promote weight loss. It helps to improve metabolism and increase the calorie-burning process.
- Enhances Heart Health: The cardiovascular benefits of Surya Namaskar include improving blood circulation, reducing blood pressure, and strengthening the heart.
- Improves Posture: Surya Namaskar helps to improve body posture and alignment, which can prevent back pain and other postural problems.
- Boosts Energy: Surya Namaskar is an excellent way to energize the body and mind, as it increases the flow of oxygen and blood to the organs and tissues.
Contraindications
While Surya Namaskar is generally safe for most people to practice, there are some contraindications to be aware of. Here are some situations in which Surya Namaskar should be avoided or modified:
- Pregnancy: Pregnant women should avoid Surya Namaskar, especially during the first trimester. In later stages of pregnancy, it can be modified with the guidance of a qualified yoga instructor.
- High blood pressure: People with high blood pressure should avoid holding the breath during the practice of Surya Namaskar, as this can increase blood pressure.
- Heart problems: People with heart problems should avoid practicing Surya Namaskar or should do it under the guidance of a qualified yoga instructor.
- Injuries: People with injuries or chronic pain should avoid Surya Namaskar or modify it with the guidance of a qualified yoga instructor.
- Menstruation: Women should avoid practicing Surya Namaskar during menstruation, as it involves inversions and forward bends that can interfere with the natural flow of the menstrual cycle.
- Hernia: People with hernia should avoid practicing Surya Namaskar or modify it with the guidance of a qualified yoga instructor.
- Recent surgery: People who have had recent surgery should avoid practicing Surya Namaskar or modify it with the guidance of a qualified yoga instructor.
It is important to consult with a qualified yoga instructor or healthcare professional before starting any new exercise or yoga practice, especially if you have any health concerns or medical conditions.
Asana 3: Padahastasana
Padahastasana, also known as Standing Forward Bend or Hand-to-Feet Pose, is a yoga posture that stretches the entire back of the body, from the heels to the neck.
Procedure
Here are the steps to practice Padahastasana:
- Start by standing at the top of your mat with your feet hip-distance apart and your arms by your sides.
- Inhale deeply and raise your arms up above your head, reaching towards the ceiling.
- Exhale and fold forward from the hips, bringing your hands down towards the floor. Keep your spine straight as you fold forward.
- If you are a beginner, you can bend your knees slightly to ease the stretch in your hamstrings. If you are more flexible, you can straighten your legs and bring your hands to the floor.
- If you are able to bring your hands to the floor, you can deepen the stretch by gently pulling on your heels with your hands.
- Hold the pose for several breaths, breathing deeply and relaxing into the stretch.
- To come out of the pose, inhale and slowly rise up to standing, reaching your arms up towards the ceiling.
- Exhale and bring your arms down to your sides.
Some tips to keep in mind while practicing Padahastasana:
- It is important to keep your knees soft, especially if you have tight hamstrings or lower back pain.
- If you have high blood pressure or a heart condition, you should avoid holding your breath while in the forward bend.
- If you have a neck injury or pain, you can keep your head lifted and look forward instead of bringing your head towards your knees.
Benefits
- Stretches the hamstrings, calves, and back muscles.
- Relieves tension in the neck, shoulders, and spine.
- Improves digestion and circulation.
- Calms the mind and reduces stress.
- Helps to reduce anxiety and depression.
Overall, Padahastasana is a great pose for stretching and releasing tension in the entire back of the body. It can be practiced by beginners and advanced yogis alike, with modifications to suit different levels of flexibility.
Contraindications
Padahastasana is generally considered a safe pose for most people. However, there are some contraindications to be aware of. Here are some situations in which Padahastasana should be avoided or modified:
- Back injuries: If you have a back injury or chronic back pain, it is important to avoid or modify Padahastasana, as it can aggravate the condition.
- Knee injuries: If you have a knee injury, you should avoid straightening your legs fully in Padahastasana. You can keep your knees slightly bent or use a block to support your hands.
- High blood pressure: People with high blood pressure should avoid holding their breath while in the forward bend, as it can increase blood pressure.
- Glaucoma: People with glaucoma should avoid holding their breath while in the forward bend, as it can increase intraocular pressure.
- Hernia: If you have a hernia, you should avoid or modify Padahastasana, as it can increase pressure in the abdominal area.
- Pregnancy: Pregnant women should avoid Padahastasana after the first trimester, as it can put pressure on the abdomen and potentially harm the developing fetus.
It is important to consult with a qualified yoga instructor or healthcare professional before starting any new exercise or yoga practice, especially if you have any health concerns or medical conditions.
Also Read:- CBSE Class 12th Physical Education File On Yoga| Yoga Practical File PDF Class 12
Asana 4: Paschimottanasana
Paschimottanasana, or Seated Forward bend, is one of the 12 basic Hatha yoga poses and also a part of the Ashtanga primary series. This pose can help calm the mind and the nervous system. It can also be beneficial for people who suffer from anxiety and depression.

Procedure
- Sit with the legs Stretched out Straight in front of you on the floor.
- Keep the spine erect and toes fixed towards you.
- Bring your respiration to normal.
- Breathing in slowly raise your both arm straight above your head, and stretch up.
Benefits
- Calms the brain and helps Relieve Stress and mild depression.
- Stretches the spine, shoulders, and hamstrings.
- Stimulates the liver, kidneys, ovaries, and uterus.
- Improves digestion.
- Helps relieve the symptoms of menopause and menstrual discomfort.
- Soothes headaches and reduces anxiety and fatigue.
Contraindications
Those suffering from lungs disease or spinal Problems should not practice this Asana. Should be avoided by people with Liver and Spleen disease.
Asana 5: Pavanmukhtasana
The reclining pose Pawanmuktasana is also called wind Relieving pose. It comes from three Sanskrit words – Pawan, which means wind, Mukta, which means to release, and Asana, which means posture. This asana can help to relieve constipation and gas from the stomach and intestine.

Procedure
To practice this asana, you should begin by lying down in a resting position with your arms spread on the ground. Bend Your knees to bring them near the stomach while making sure not to pull your neck upwards, With the help of hands keeps your knees close to the chest and the upper half of the hand properly stuck to the ground. Remain in this posture for 4-5 minutes.
Benefits
- Help to decrease gas in the intestines.
- Increase blood circulation to all the internal organs.
- Improves the digestive system.
- Relieves Constipation.
- Strengthens the lower back muscles and loosens spinal vertebrae.
- Decrease sterility and impotence.
- Beneficial in mitigating menstrual disorders.
- Reduces fat from the abdominal area thighs and buttocks.
Conclusion
Yoga is an excellent way to reduce belly fat and improve overall health and well-being. These 5 yoga asanas – Tadasana, Surya Namaskar, Padahastasana, Paschimottanasana, and Paschimottanasana- are effective in targeting the core muscles, improving digestion, and boosting metabolism. A regular yoga practice, along with a healthy diet and lifestyle, can help you achieve your weight loss goals naturally.
FAQs
1. Can yoga alone reduce belly fat?
While yoga can help in reducing belly fat, it is essential to follow a healthy diet and lifestyle for optimal results.
2. How long should I practice yoga to see results in reducing belly fat?
It depends on various factors such as age, gender, body weight, and lifestyle. However, practicing yoga for at least 30 minutes a day, five days a week can help you see results in reducing belly fat.
3. Are there any precautions I should take while practicing these asanas?
Yes, it is essential to listen to your body and not force any pose beyond your comfort level. Consult with a certified yoga instructor if you have any medical conditions.
4. Can yoga help in reducing belly fat post-pregnancy?
Yes, yoga can be an effective way to reduce belly fat post-pregnancy. However, it is crucial to wait until your doctor gives you clearance to practice yoga.
5. What is the best time to practice these asanas?
You can practice these asanas at any time of the day, but it is recommended to practice them on an empty stomach early in the morning.